When you suspect mold in your home or business, a professional mold inspection is the best way to identify the problem and take action. But before the inspector arrives, a little preparation can help ensure accurate results. In this guide, we’ll walk you through what to expect during a mold inspection and how to get ready for the process.
Why a Mold Inspection is Important
Mold isn’t just unsightly—it can cause health problems, structural damage, and reduced indoor air quality. A professional mold inspection provides:
✔ A thorough assessment of visible and hidden mold growth
✔ Identification of moisture sources that promote mold growth
✔ Testing for airborne mold spores
✔ A detailed report with recommendations for next steps
How to Prepare for Your Mold Inspection
1. Avoid Cleaning or Disturbing Suspected Mold
It might be tempting to scrub or wipe away visible mold, but doing so before an inspection can interfere with test results. Mold spores can become airborne when disturbed, making it harder to get accurate readings.
2. Do Not Use Air Purifiers or Dehumidifiers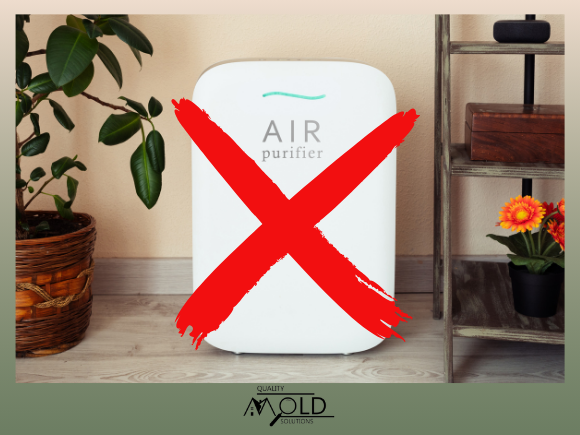
To get an accurate assessment of mold levels, it’s best to turn off air purifiers and dehumidifiers for at least 24 hours before the inspection. These devices can reduce mold spore counts in the air, potentially leading to misleading test results.
3. Keep Windows and Doors Closed
For the most precise air quality testing, keep your home or business closed up for at least 12 hours before the inspection. This helps capture an accurate sample of the indoor air without outside contaminants.
4. Make Sure the Inspector Has Easy Access
Our inspectors will need to examine different parts of your property, including:
✔ HVAC system and air vents
✔ Attic, crawlspaces, and basements
✔ Behind walls, ceilings, and under carpets (if necessary)
✔ Kitchens, bathrooms, and laundry rooms (common moisture-prone areas)
Clear away any clutter or obstacles to make it easier for the inspector to access these areas.
5. Prepare a List of Problem Areas
If you’ve noticed musty odors, water stains, leaks, or past flooding, take note of these issues and point them out to the inspector. The more information you provide, the better we can pinpoint potential mold sources.
6. Inform the Inspector of Any Health Concerns
If you or someone in your household is experiencing allergy-like symptoms, respiratory issues, or skin irritation, let the inspector know. Certain types of mold can have a greater impact on health, and this information helps us tailor our inspection approach.
What Happens During a Mold Inspection?
Once the inspector arrives, here’s what you can expect:
✅ Visual Inspection: We’ll check for visible signs of mold, moisture issues, and potential problem areas.
✅ Air and Surface Testing: If necessary, we’ll take air and surface samples to identify mold types and spore concentrations.
✅ Moisture Readings: Using specialized tools, we’ll detect hidden moisture that could be fueling mold growth.
✅ Comprehensive Report: You’ll receive a detailed report with findings, photos, and recommendations for next steps.
What Happens After the Inspection?
If mold is detected, we’ll provide guidance on the best course of action. This may include professional mold remediation or steps to reduce moisture and prevent future growth.

